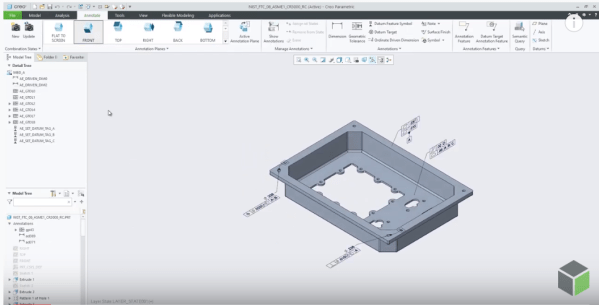
That's correct. Flat to screen surface finishes do not have a directional annotation plane and do not support an extension line. You cannot drag surface finishes off the model surfaces that are created flat to screen. In Creo, if the placement surface is planar, then you can drag surface finishes in the XY direction beyond... Continue Reading →
Did you know about these MBD related checks in Creo?
With Creo 6.0, PTC has enhanced ModelCheck to include additional checks for tolerances, annotations, features, and combined states. For example - Annotations that are not referencing any surfaces Annotations not included in any combined state ModelCheck can identify any combined states that are not following the naming conventions within the user defined list of names... Continue Reading →
How to quickly find similar geometric shapes and surfaces in Creo?
Starting with Creo Parametric 4.0, you can quickly find rounds, chamfers , sheet metal design objects from within a single, easy-to-use search tool. The Geometry Search tool allows searches based on geometry and design intent to Creo Flexible Modeling. Searches can be based on a seed surface or be defined without a seed. Search results appears in the Found... Continue Reading →
Did you know about these hole placement enhancements in Creo?
Starting with Creo 4.0, you can place a hole using an axis or point and a surface as references, even if - the axis is not normal to the surface or the point is not on the surface. Note: you can define the orientation of the hole regardless of how the hole is placed. When... Continue Reading →
How do you drag surface finishes beyond placement surface in Creo?
In Creo, if the placement surface is planar, then you can drag surface finishes in the XY direction beyond the placement surface. An extension line is created in the XY-direction when you drag the surface finish off the reference surface as shown below You can drag the surface finish in the Z-direction even when it... Continue Reading →
Have you tried splitting surfaces in Creo?
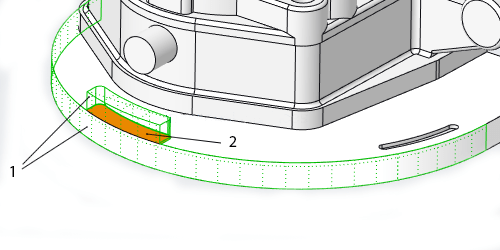
In Creo, some shape surface sets that are selected for removal contain surfaces that are shared by shapes included in the surface set, and shapes that are not included in the surface set. The system automatically splits these shared surfaces so that only the portions of the shared surfaces that belong to the selected shapes... Continue Reading →
How to trim a quilt in Creo using curves?
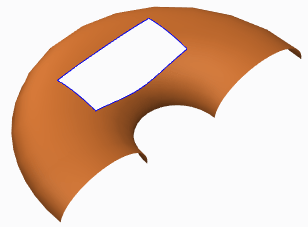
Quilts in Creo can be trimmed in a few ways (see below). Adding a cut or slot as you do to remove material from solid featuresTrimming the quilt at its intersection with another quilt or to its own silhouette edge as it appears in a certain viewFilleting corners of the quiltTrimming along a datum curve... Continue Reading →
Do you know how to flip the normal direction of a loft surface in Creo?
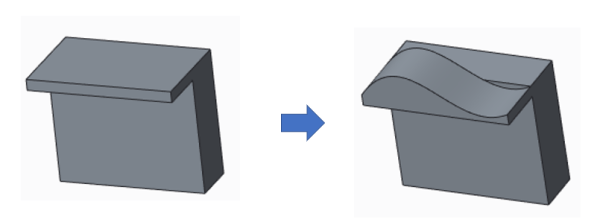
With Creo 5.0 release, you can flip the normal direction of a loft surface from one side of a boundary curve to the other side. However, in previous releases of Creo, you could not control the direction of the normal connection of a loft surface where the boundary curve is planer. As a result, the... Continue Reading →
How to replace an entity in Creo sketcher?
In Creo Parametric, you can replace an entity and redefine a section after several features are created. The children of the replaced entity are automatically rerouted to the new entity. To replace one of the sketcher entities in the part, use the below steps Step 1: In Sketcher, sketch the... Continue Reading →
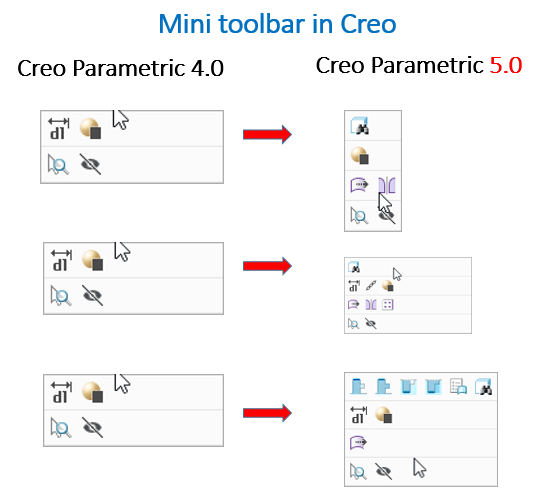
Have you tried the enhanced mini toolbar in Creo?
In Creo Parametric 4.0, when objects of different types are selected, a single invariant toolbar would appear. This has been improved with Creo 5.0 as shown below For selection of surface + datum axis For selection of surface + quilt For selection of datum + surface + round ... Continue Reading →